A long time ago, the most commonly used car brakes were drum brakes. But with the introduction of their more sophisticated counterparts, disc brakes slowly became the standard. In fact, disc brakes are what you’ll find on 99% of cars today. Many vehicles, however, have disc brakes on the front wheels and drum brakes on the rear wheels. But why is that so? Disc brakes, unlike drum brakes, are much more efficient since they don’t get warm as fast and don’t generate a lot of noise too.
Disc brakes also last a lot longer thanks to their simple operation, and they rely on a small component called a brake pad. Placed on the rotor, a car brake pad is what comes into contact with the rotors when you apply the brake pedal. They are what make the car slow down thanks to the friction created when pressed against the rotors. But since there is friction, replacement of pads is inevitable.
How to Replace Brake Pads

Preparation
Alongside having a new set of brake pads you might also need to get a new rotor if the rotor has been warped or damaged as a result of the worn-down brake pads pressing against it. You should consider getting a brake cleaner, brake fluid, a disc brake pad spreader set and a torque wrench to replace your new auto parts brake pads properly.
Replacement Process
1. Safety comes first, and this is why you need to park your vehicle on a flat level surface and place wheel chocks being the wheels. Wear safety goggles and gloves too and use secure jack points when lifting your car.
2. Check the level of the brake fluid by opening the bonnet and opening the cap of a usually white reservoir. Remove some fluid if the reservoir is full, as the compressing of the calliper piston can cause some spillage.
3. With your brake fluid all good to go, loosen the lug nuts with a breaker bar and corresponding socket, but do so with the wheel on the ground. When you have your vehicle in the air. Remove the lug nuts as well as the wheels. Then, go ahead and remove the bolts on the calliper as well as the calliper itself.
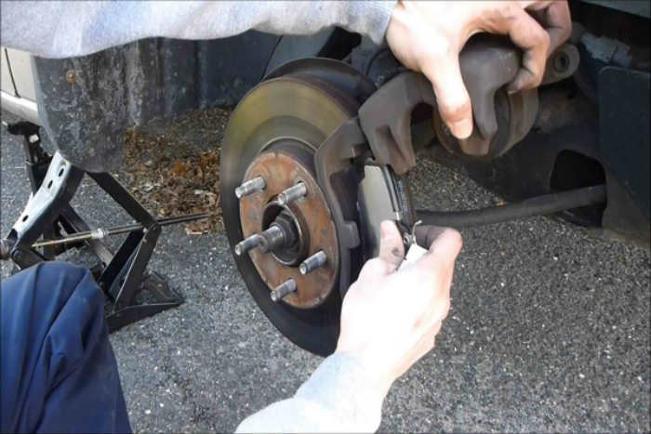
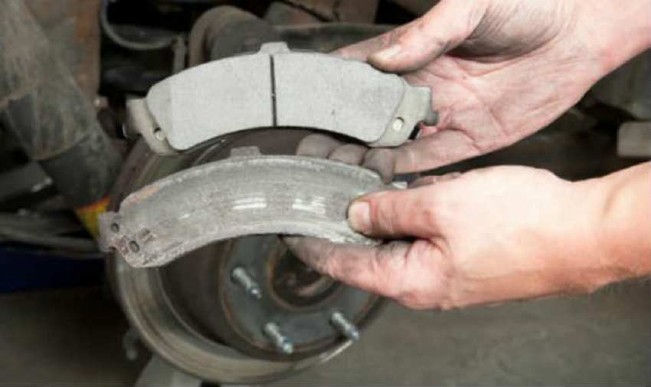
4. When you have the calliper removed, make sure to suspend it with a bungee cord so it doesn’t get in the way of you removing the pads. Now, remove the old pads from the callipers and place the new pads where the old ones were. Be aware of the position of the wear-sensor orientation here, as installing the pads incorrectly won’t show you how worn off they are later on.
5. Then, install the brake calliper and piston by seating the piston with the spreader set. Install the calliper by taking of the cord and putting on the calliper bolts back but don’t over tighten them. Tighten the bolts with a socket and then a torque wrench. Afterwards, check the brake fluid reservoir and top it off if needed and pump the brakes to ensure the fluid is flowing freely.
6. The last step requires you to check the brake fluid reservoir once again and then top it off if needed. Install the wheels and then lower your vehicle to the ground.
7. Go for a drive to test out the new disc brake pads by accelerating around 80 km/h somewhere safe and applying the brakes gently. Bring the speed of your vehicle down to 50 km/h this way and continue driving at it for about 3 minutes. Repeat this about 5 times until you have the new brakes ready for your everyday commute.
How Do I Know If I Need Brake Pads

Noise
The first and most obvious sign that something is wrong with your brake pads is squealing noises. This means that your auto parts brake pads have been worn out to the point where they probably damaging the rotor and the squealing is the result of two metal surfaces being pressed against each other.
Vibration
When you apply the breaks you may experience vibration in the pedal. This probably means that your rotors are warped and the pads have uneven wear.
Grinding
If when braking you hear a grinding sound, it’s probably a strong indicator that you need to replace the pads as soon as you can. This may not have to do with a damaged rotor but if you don’t replace the pads on time it may as well be.
Operation
While your brakes shouldn’t jolt your vehicle whenever you apply slight pressure to the pedal, they also shouldn’t take too long to stop your vehicle from moving. This is a strong indicator that your disc brake pads are worn down completely and that the rotor is compensating for all that.


